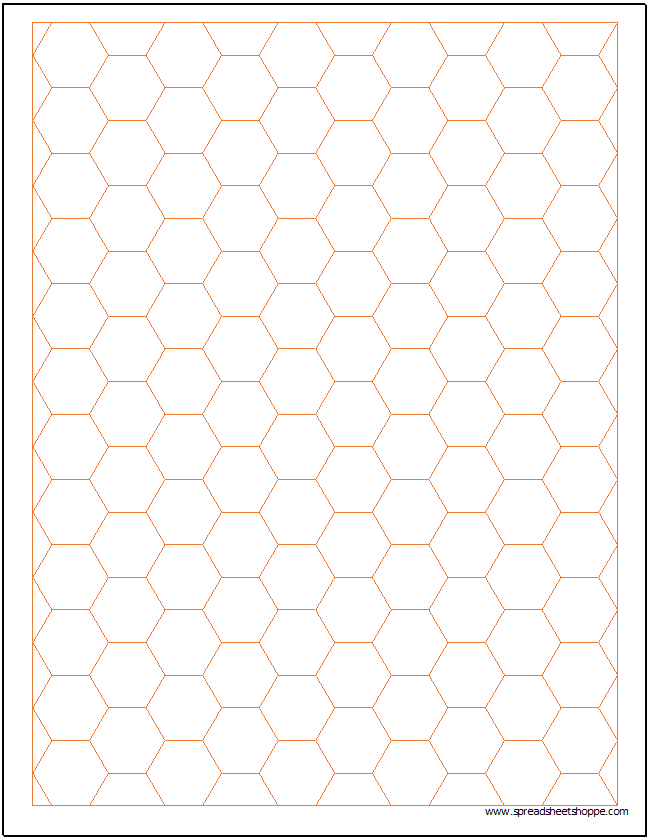
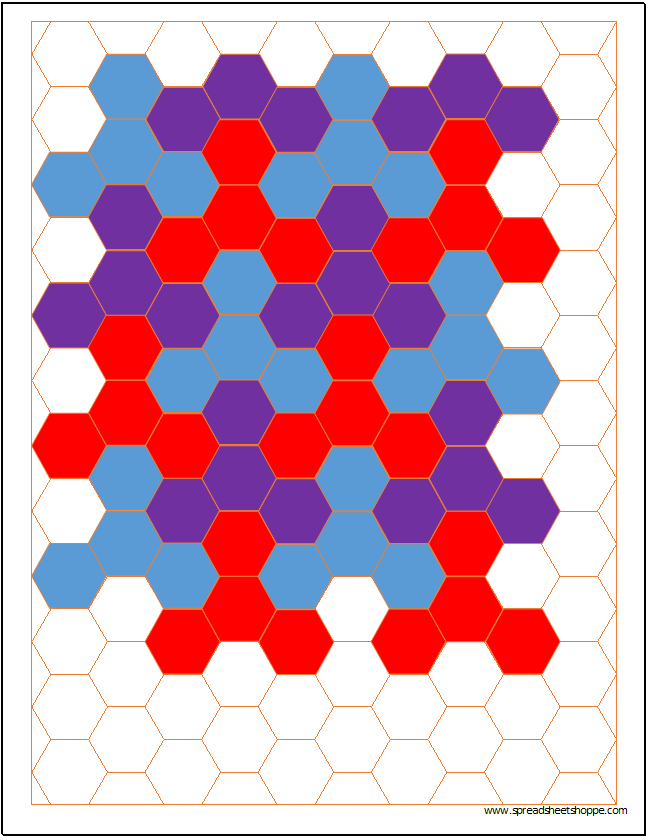
Experiment with unique designs using this free Hexagonal Graph Paper Template. It’s in Excel, so it’s easy to use. Each tab has a unique size that will print on a single standard sheet of paper. Design your own unique tessellation using this graph paper. Below is an example tessellation that I created using this graph paper in Excel.
Hexagonal Graph Paper Template
System Requirements & General
Hexagonal Graph Paper Download
Download 154.83 KB 1569 downloadsDownload the file above,which has 4 sizes of Hexagonal graph paper. Each tab is labeled. We’ve included a 0.06″, 0.12″, 0.25″ and a 0.5″ tab. The image on the right is an example of a tessellation you can create with this graph paper.
Adjust the Size
Adjusting the size of the this graph paper is simple. Just follow these steps:
1. Go to View and select Page Layout. This will bring up Excel’s built in ruler which will allow you to adjust the size of your squares in inches.
2. In order to determine what your Row Height should be, you first need to determine the desired length of each hexagon side. Once determined, you will divide the side length by 2 then multiply by 1.73 (this is rounded, to be exact, you can multiply by √3). This will be the height for every row.
3. Column Widths come in two sizes. The smaller columns are the width of half a hexagon side length. The bigger columns are equal to a full hexagon side length. The first column is small, but after that, the pattern is one large then two small.
4. Select all of the cells. You can do this by pushing Ctrl + A, or by pressing the select all button (this is the button at the top left of the worksheet that is between the two rulers that should now be showing.
5. Right click a Row and select Row Height. Enter the size of the cell you want. It should be in inches, not pixels. For columns, select the smaller columns, right-click one of the columns, choose Column Width and enter the appropriate size for the smaller columns. Repeat this step for the larger columns using the larger width.
Now all of your squares should be the same size and the measurement should be in inches. Note, be sure to adjust your printing area appropriately.
Adjust the Color
Here’s a quick way to change the color of the graph paper lines.
1. Go to Page Layout in the ribbon.
2. Next to Themes, there should be an option for Colors. Select the color of your preference and all of the colors on the template should automatically update.